Introducción


-
-
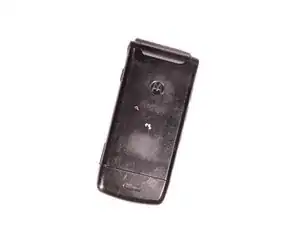
Pick up the cell phone with the back facing towards you.
-
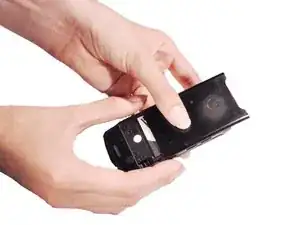
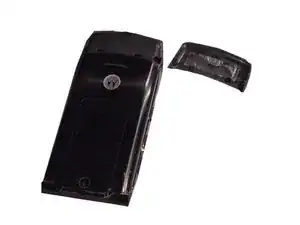
Push down on the silver tab located at the top center of the back of the Motorola W490 cellphone.
-
While pushing down on the silver tab, slide the back cover towards the silver tab. Remove the back cover.
-
-
-
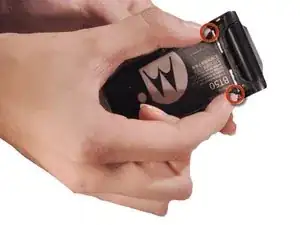
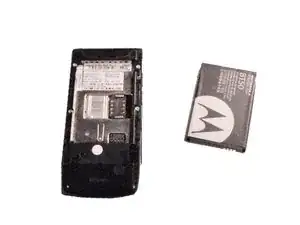
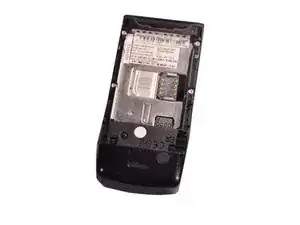
Remove the battery by pulling the battery from the top corners labeled "Pull Here" located on either side of the top of the battery.
-
Set the battery aside.
-
-
-
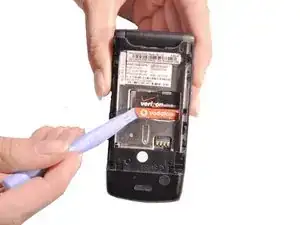
Use a plastic opening tool to make a gap between the SIM card and the phone.
-
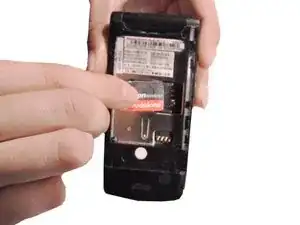
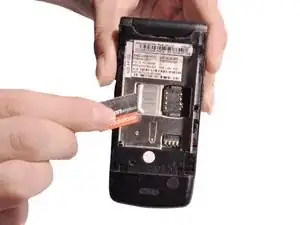
Use your thumb and index finger to pull the SIM card from the phone.
-
-
-
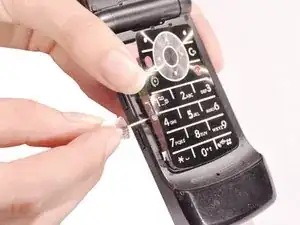
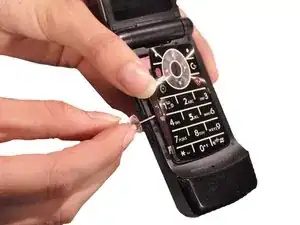
Insert a push pin into the notch located on the left side of the keypad and push the pin under the keypad membrane.
-
-
-
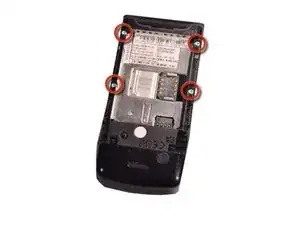
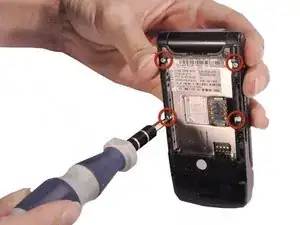
After taking out the battery, locate four star-shaped 5.4 mm T6 screws on top and middle of the rear of the phone. Indicated by the red circles.
-
Remove all the screws using the Torx T6 Screwdriver.
-
-
-
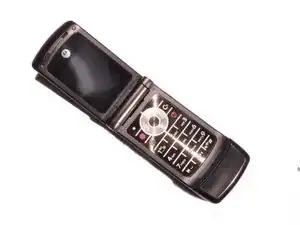
Turn over the phone to the front side and open up the phone, displaying the keypad.
-
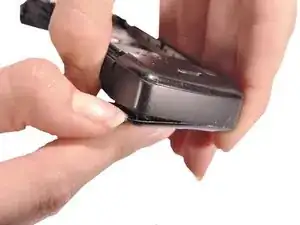
Use a plastic opening tool or your fingernail to make a gap between the front bottom cover and the phone.
-
Pull and set the glued plastic cover aside.
-
-
-
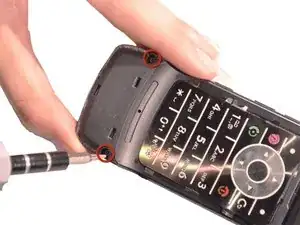
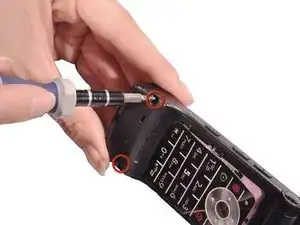
Under the plastic cover, locate two star-shaped T5 screws.
-
Use the Torx T5 Screwdriver to remove the two screws.
-
-
-
Turn over the phone to the back side of phone where the battery was removed.
-
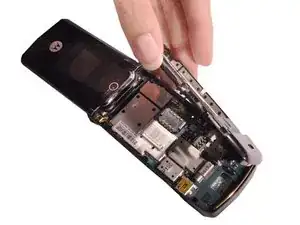
Use hands to remove the unscrewed rear frame of the phone.
-
Set aside the rear metal frame.
-
-
-
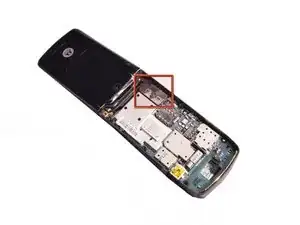
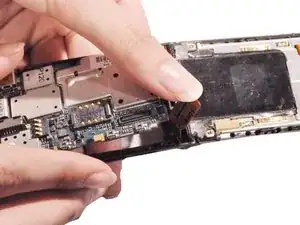
Identify the flex cable attachment. Indicated in a red square.
-
Detach the bottom half of the flex cable, pop it off of the circuit board.
-
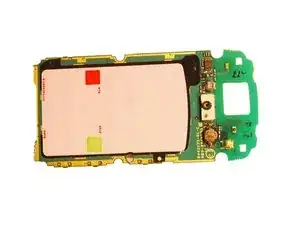
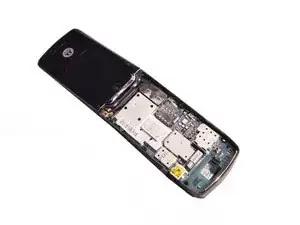
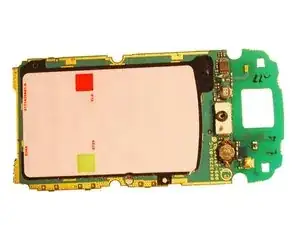
Pick up the loosened circuit board from the phone and set aside.
-
-
-
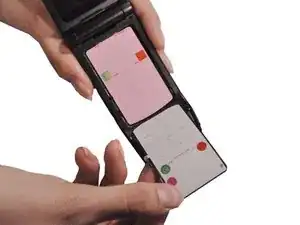
Lay the circuit board down with the keypad facing up.
-
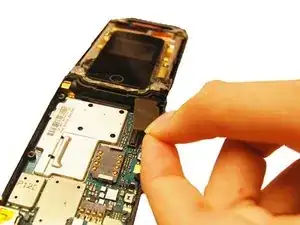
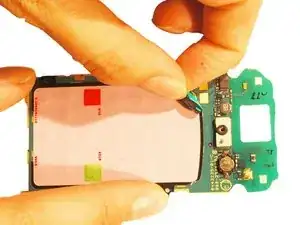
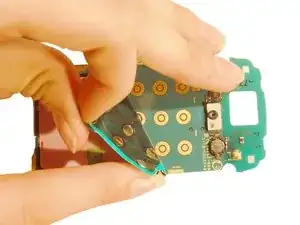
Grab the corner of the keypad and gently peel it away from the circuit board.
-
To reassemble your device, follow these instructions in reverse order.
