Introducción

This guide will aid you in the process of removing the screen of the device. This is useful in replacing broken screen.

  1. 1ZqiTlgxyXHXJ6XD
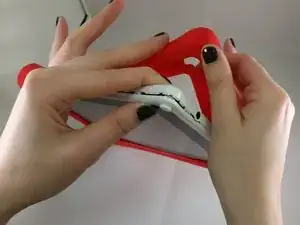
    • Remove the red rubber case from the device.

  2. FGQtSMl5mRiWrG3Z
    FGQtSMl5mRiWrG3Z
    QkEvKFt1TtppgCkC
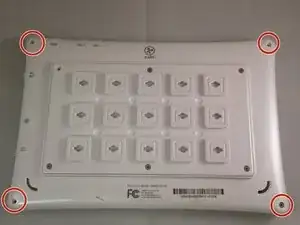
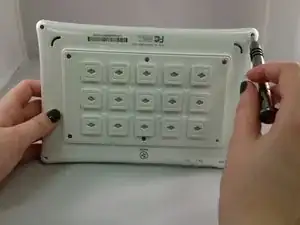
    • Make sure the screen is facing away from you and the back cover is facing you.

    • Using a Phillips #0 Screwdriver, unscrew the 3mm screws counter-clockwise in each corner of the plastic back cover. It will be a total of four screws. The smaller case on the back cover is attached to the main cover so it will not need to be removed.

  3. DC53iXlqcXo6bqAq
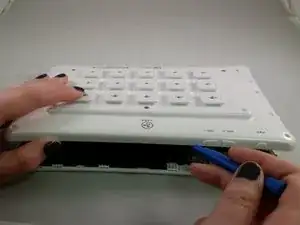
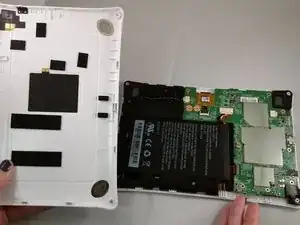
    • Using the plastic opening tool, remove the case.

    • Removing the case will take a bit of effort and force. We recommend using two hands and if possible another person to help. It will require some gusto.

    • It is helpful to pry at the corners first to loosen the case.

  4. cyfxEWlvrlXCrXZH
    • After the back case is loosened, remove it from the device to change or access the battery.

  5. rqnj4MHXPs2VxBlJ
    rqnj4MHXPs2VxBlJ
    dmWuSQTaqvfT62BG
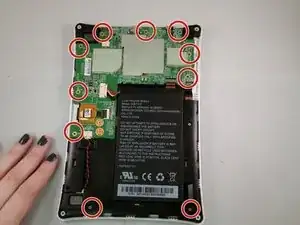
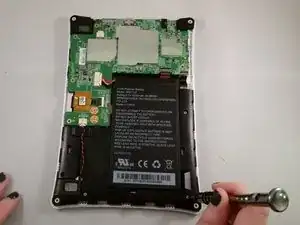
    • Unscrew the circuit board from the motherboard by using a Phillips #0 screwdriver to unscrew the 4mm screws in a counter-clockwise rotation.

  6. QfFJiqBYQPBysCUC
    QfFJiqBYQPBysCUC
    a3gvLuB3RpaV5qFu
    wthhoao1pYlRSNfD
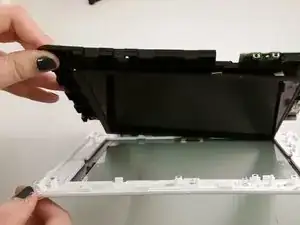
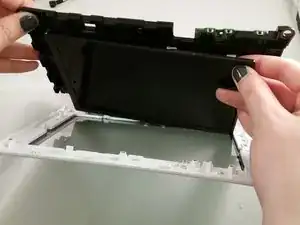
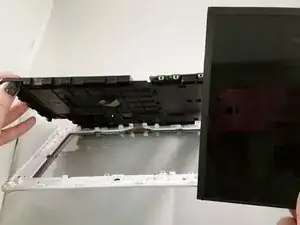
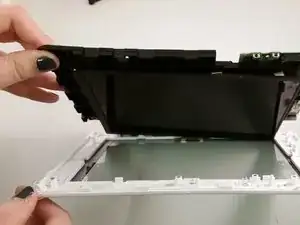
    • Pull motherboard away from the plastic.

    • Use hands to detach the screen because it is taped to the back of the motherboard.

    • Grip the screen and slide it out from between the plastic and the circuit board.

Conclusión

To reassemble your device, follow these instructions in reverse order.

Riana Ramirez

Miembro Desde 07/03/16

680 Reputación

0 comentarios