Introducción
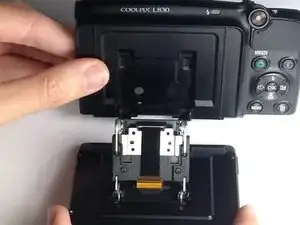
This guide describes the steps necessary to remove and replace the LCD Monitor Connecting Arm of a Nikon Coolpix L830 camera.
Herramientas


-
-
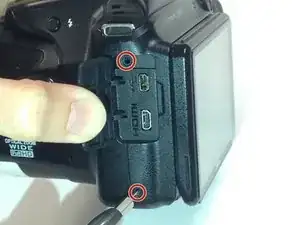
Use a Phillips #000 screwdriver to unscrew the two 3.0mm Phillips screws located on the side of the camera with the HDMI port.
-
-
-
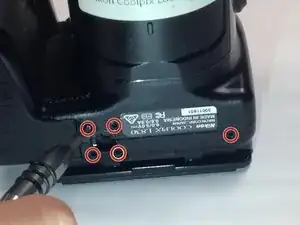
Unscrew the five 3.0mm Phillips #000 screws that are located on the bottom side of the camera.
-
-
-
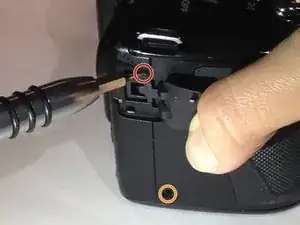
Unscrew the 4.0mm Phillips #000 screw located underneath the grey flap on the side of the camera with the "DC IN 5.0 V" marker.
-
Unscrew the exposed 3.0mm Phillips #000 screw on the same side.
-
-
-
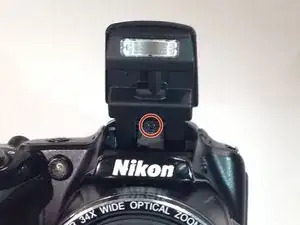
Press the flash button to open the flash component.
-
Remove the 3.0mm Phillips #000 screw located directly in-between the two arms.
-
-
-
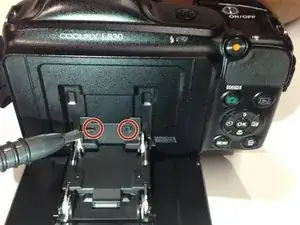
Open the LCD monitor to reveal two 2.0mm Phillips screws.
-
Remove the 2.0mm Phillips #000 screws.
-
-
-
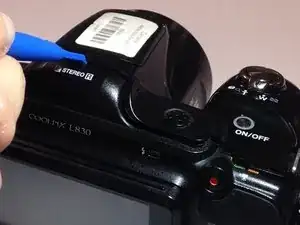
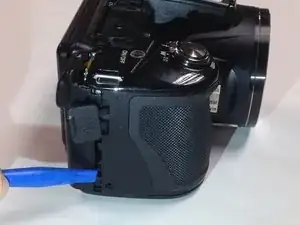
Insert a plastic opening tool between the back and front surface components of the camera.
-
Wiggle the plastic opening tool backwards and forwards along the top edge until the back surface comes off.
-
-
-
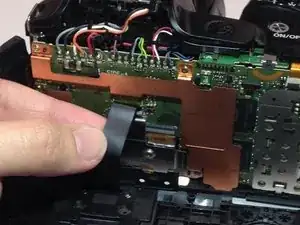
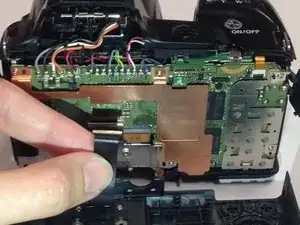
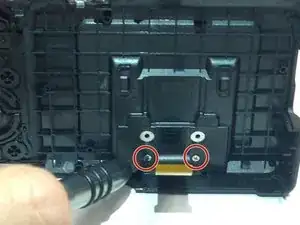
On the inside of the back cover, remove the two 2.0mm Phillips screws surrounding the connecting cable.
-
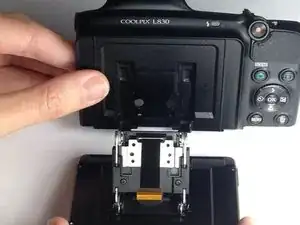
To reassemble your device, follow these instructions in reverse order.
